Tiling can transform the look of any space — whether it’s a bathroom, kitchen, living room, or commercial area. However, even high-quality tiles can fail if installation is done incorrectly. Many homeowners and even inexperienced contractors make avoidable mistakes that lead to cracks, uneven surfaces, and expensive repairs.
Understanding common tiling mistakes and how to avoid them can save you time, money, and frustration.
Let’s explore the most frequent tile installation errors and practical ways to prevent them.
1. Poor Surface Preparation
One of the biggest tiling mistakes happens before the first tile is even laid. Skipping proper surface preparation leads to long-term problems.
Common issues caused by poor preparation:
- Loose tiles
- Cracking
- Uneven surfaces
- Water seepage
How to Avoid It
- Ensure the surface is clean and dust-free
- Repair cracks and damaged areas
- Level the surface properly
- Install cement backer board if required
- Make sure the area is completely dry
A stable, flat, and clean surface is the foundation of successful tile installation.
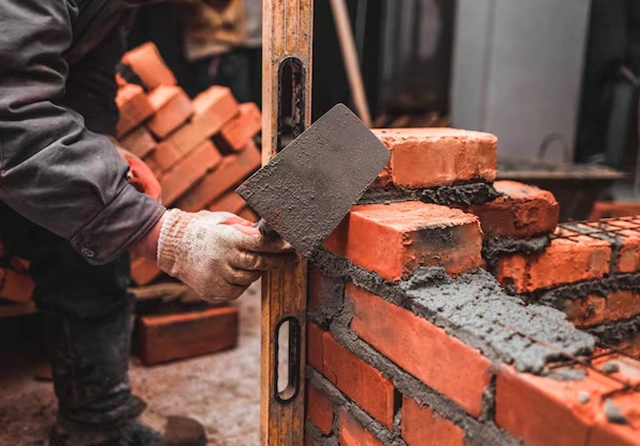
2. Not Checking for Level and Alignment
Uneven tiles — also known as “lippage” — are a common complaint. This usually happens when installers don’t check alignment regularly.
Problems caused by uneven tiles:
- Tripping hazards
- Poor appearance
- Weak bonding
- Uneven grout lines
How to Avoid It
- Use a spirit level frequently
- Work in small sections
- Use tile spacers
- Check alignment after placing every few tiles
Taking extra time to check levels ensures a professional finish.
3. Using the Wrong Adhesive
Not all adhesives are suitable for every tile type or environment. Using the wrong adhesive can result in tiles lifting or falling off.
For example:
- Bathroom tiles require moisture-resistant adhesive
- Large-format tiles need stronger bonding
- Outdoor tiles require weather-resistant materials
How to Avoid It
- Choose adhesive based on tile type
- Consider room conditions (wet, dry, outdoor)
- Follow manufacturer recommendations
- Mix adhesive according to instructions
Correct adhesive selection is critical for durability.
4. Incorrect Mortar Mixing
Improperly mixed mortar can weaken tile bonding. Too much water makes it weak, while too little water reduces workability.
Common results include:
- Weak adhesion
- Hollow sounds under tiles
- Tiles detaching over time
How to Avoid It
- Follow exact mixing ratios
- Mix thoroughly until smooth
- Avoid re-tempering (adding water after it sets)
- Prepare small batches at a time
Consistency ensures strong and lasting tile adhesion.
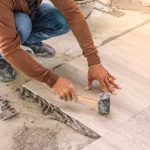
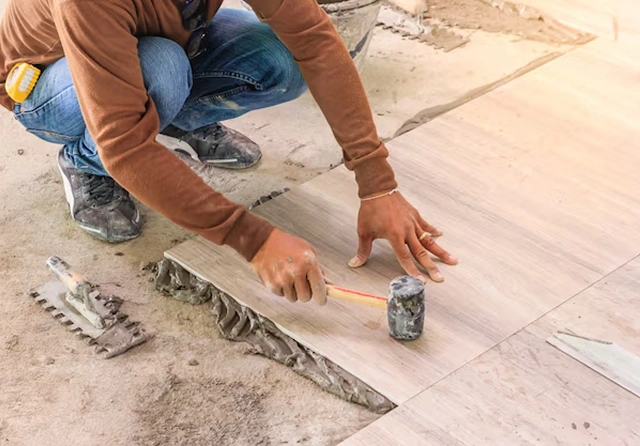
5. Skipping Tile Layout Planning
Jumping straight into installation without planning layout is a major mistake.
Without planning:
- Tiles may look uneven
- Edges may have tiny awkward cuts
- Patterns may not align properly
How to Avoid It
- Measure the space carefully
- Mark center lines
- Dry-lay tiles before applying adhesive
- Adjust layout for symmetry
Proper planning enhances the visual appeal of your tiled space.
6. Not Allowing Proper Drying Time
Many tiling failures occur because people rush the process.
Common mistakes include:
- Walking on tiles too soon
- Grouting before adhesive sets
- Using the area immediately after installation
How to Avoid It
- Allow adhesive to cure fully (usually 24 hours)
- Follow manufacturer drying times
- Avoid heavy loads during curing
Patience ensures durability.
7. Ignoring Expansion Gaps
Tiles expand and contract with temperature changes. Without proper expansion gaps, tiles may crack or lift.
Problems caused by no expansion space:
- Cracked tiles
- Buckling floors
- Damaged grout
How to Avoid It
- Leave small gaps near walls
- Use flexible sealant at edges
- Install movement joints in large areas
This is especially important in commercial or large residential spaces.
8. Poor Grouting Techniques
Grouting is often treated as a minor step, but it plays a major role in strength and appearance.
Common grouting mistakes:
- Applying grout too early
- Not filling joints completely
- Leaving excess grout residue
- Using the wrong grout type
How to Avoid It
- Wait until adhesive fully cures
- Use proper grout float technique
- Clean tiles before grout dries
- Choose waterproof grout for wet areas
Proper grouting improves both durability and aesthetics.
9. Using Low-Quality Materials
Trying to save money by choosing cheap materials often backfires.
Low-quality materials can result in:
- Faster wear and tear
- Cracks and discoloration
- Weak bonding
- Shorter lifespan
How to Avoid It
- Invest in high-quality tiles
- Choose reputable adhesive brands
- Use durable grout
- Consult professionals for recommendations
Quality materials enhance long-term value.
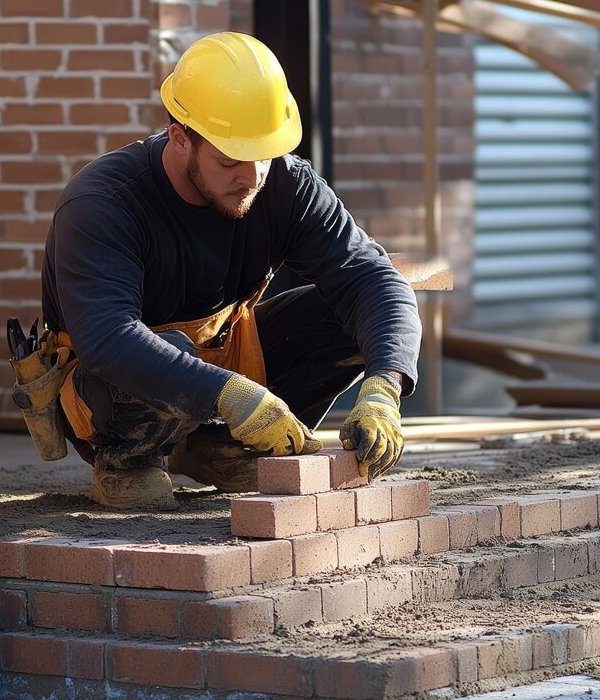
10. Attempting Complex Projects Without Experience
DIY tiling can be tempting, but complex layouts or large areas require expertise.
Risks of inexperienced installation:
- Misalignment
- Structural damage
- Wasted materials
- Higher repair costs
How to Avoid It
- Hire professional tilers for large projects
- Seek expert advice for commercial installations
- Practice on small areas before major work
Professional installation often saves money in the long run.
Signs Your Tile Installation Has Problems
Watch for these warning signs:
- Hollow sounds when tapped
- Cracks in grout lines
- Tiles shifting or lifting
- Water leakage
- Uneven edges
Addressing issues early prevents bigger repairs later.
Final Thoughts
Understanding common tiling mistakes and how to avoid them is essential for achieving a durable and professional finish. Most tiling failures occur due to poor preparation, incorrect adhesive use, rushed work, or lack of planning.
By focusing on:
- Proper surface preparation
- Correct materials
- Accurate leveling
- Adequate drying time
- Careful layout planning
You can ensure long-lasting results.
Whether it’s a residential renovation or commercial installation, avoiding these common tiling errors protects your investment and enhances the overall appearance of your space.
Remember — successful tiling isn’t about speed. It’s about precision, preparation, and patience.